Creating Policies
Learn how to build your policy library and add new policies.
Getting Started – Creating Policies
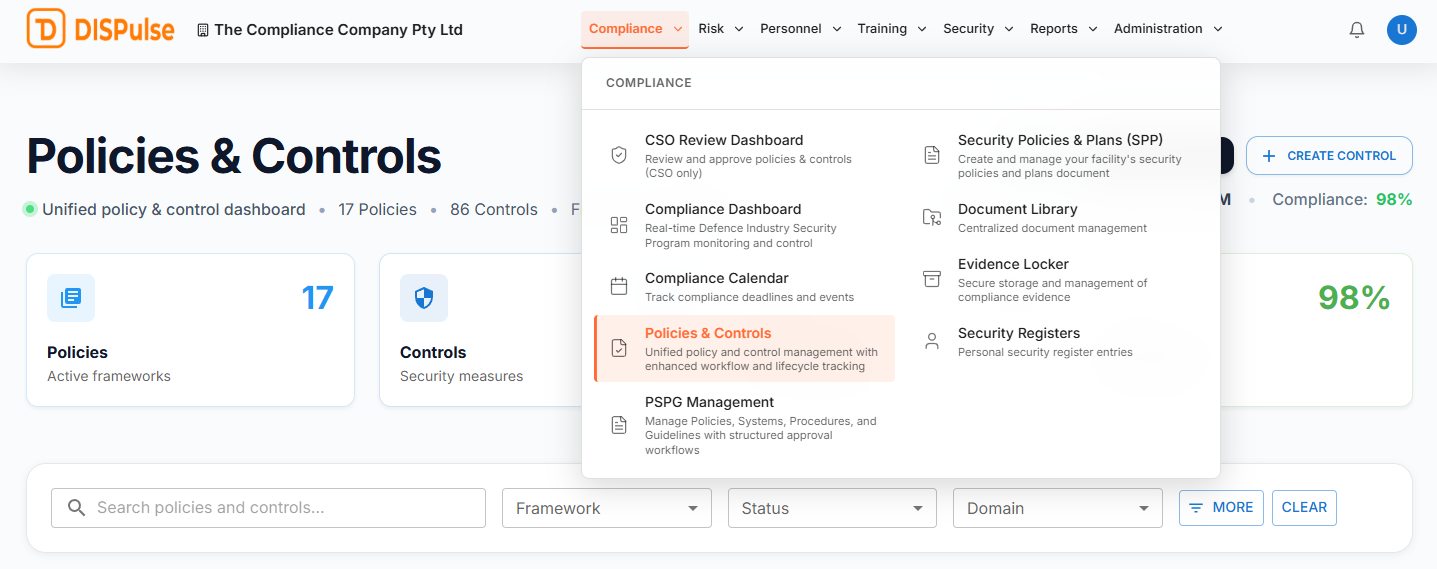
To get started building your policy library or adding new policies to your library, head to the Policies & Controls page under the Compliance tab.
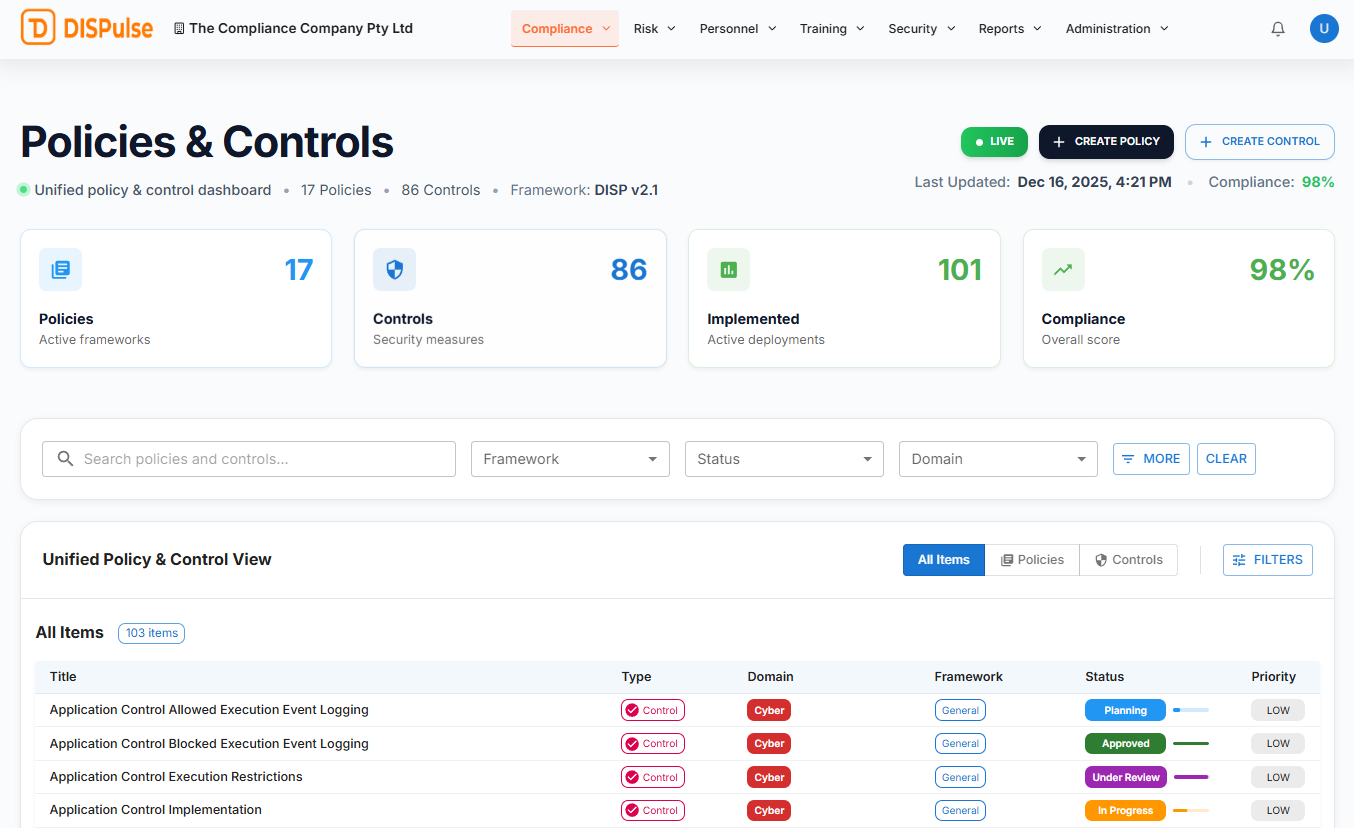
Once you're on the Policy & Control page, click Create Policy in the top right-hand corner to start creating your first policy.
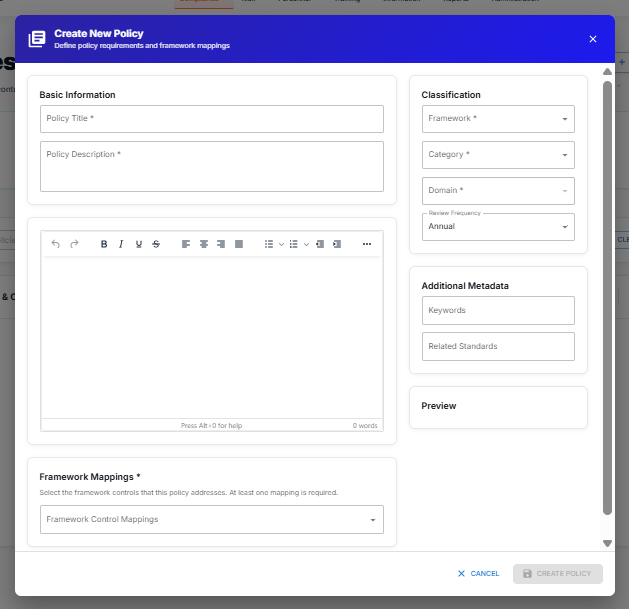
Once you’ve clicked Create Policy, the Create New policy form will open. Fill in the form with the relevant policy details. TIP: Copy and paste content straight from a formatted Word document for simple content formatting.
Once you’ve added all relevant details and are satisfied with the formatting, click 'Create Policy' to save your work and add it to the library.
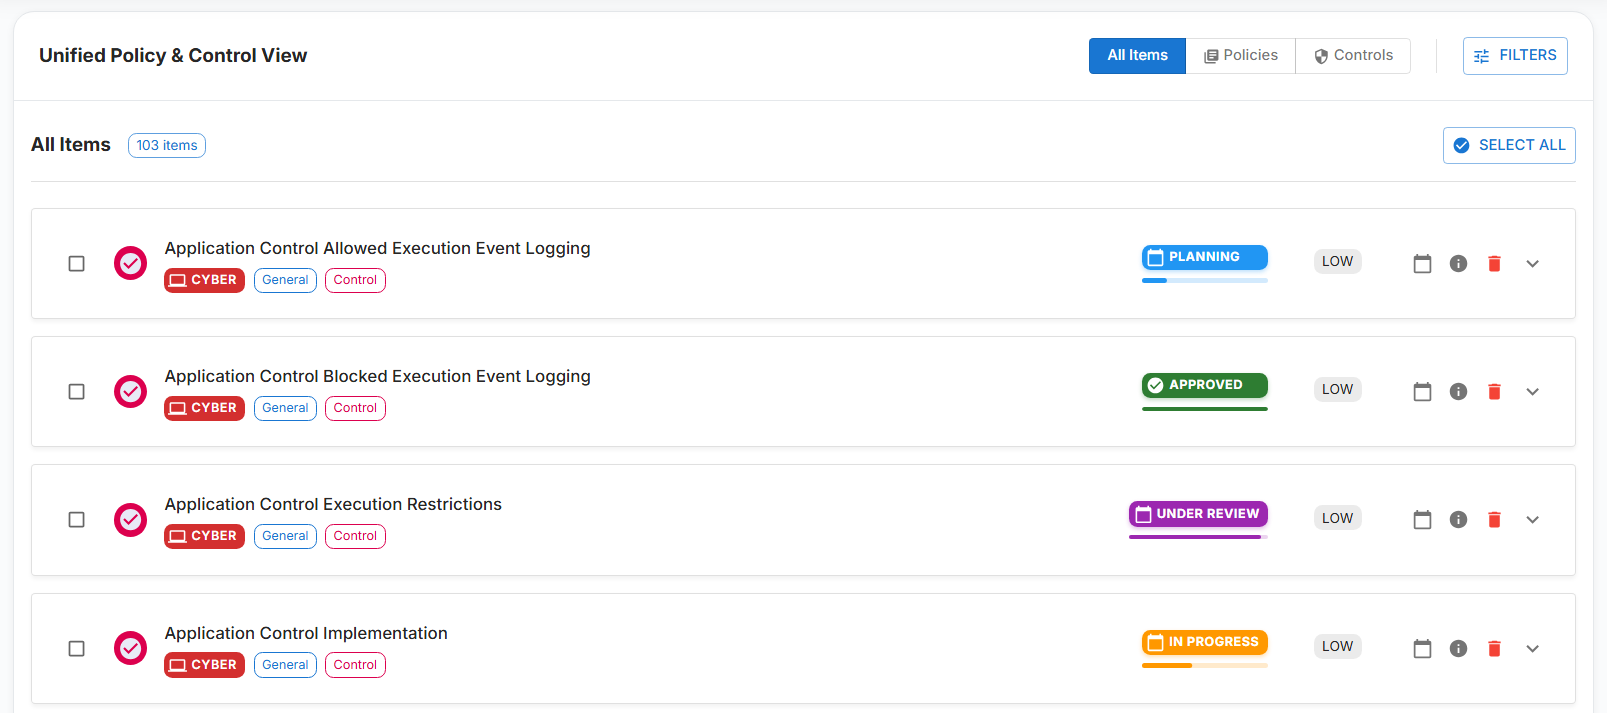
Congratulations, you've just created a policy in DISPulse. Scroll down to the Unified Policy & Control library to view and manage your new policy.
To learn more about managing policies, see the Managing Getting Started - Managing Policies user guide._