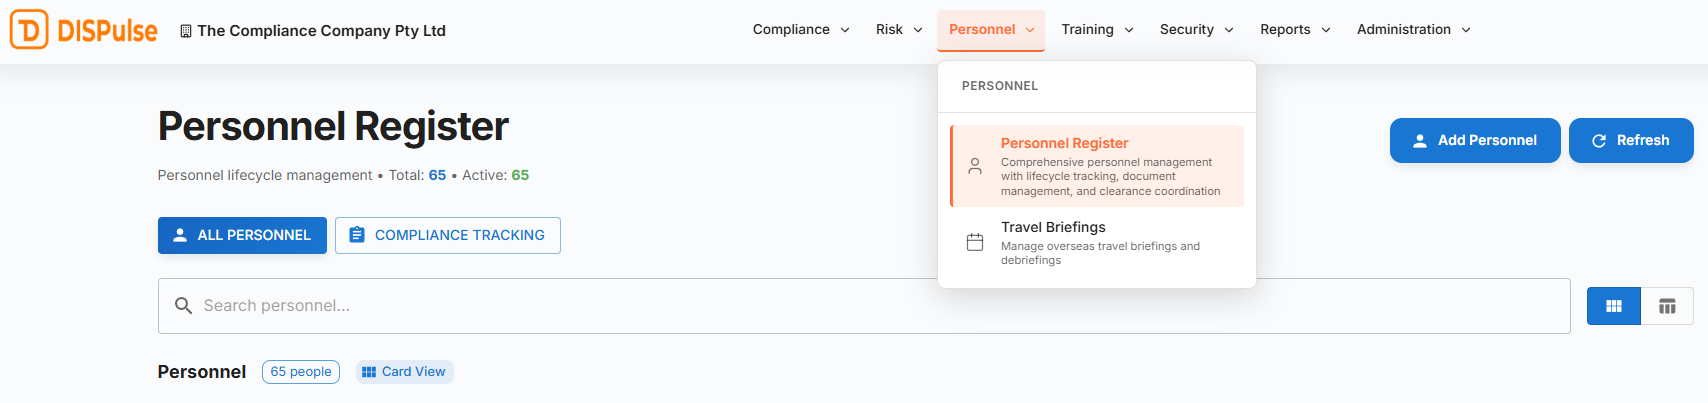
Personnel Register
Manage employee records, security clearances, and travel briefings.
Getting Started - Creating personnel records in DISPulse
DISPulse enables companies to store and record personnel details and documents securely, and to manage security clearances, overseas travel briefings, and training compliance.
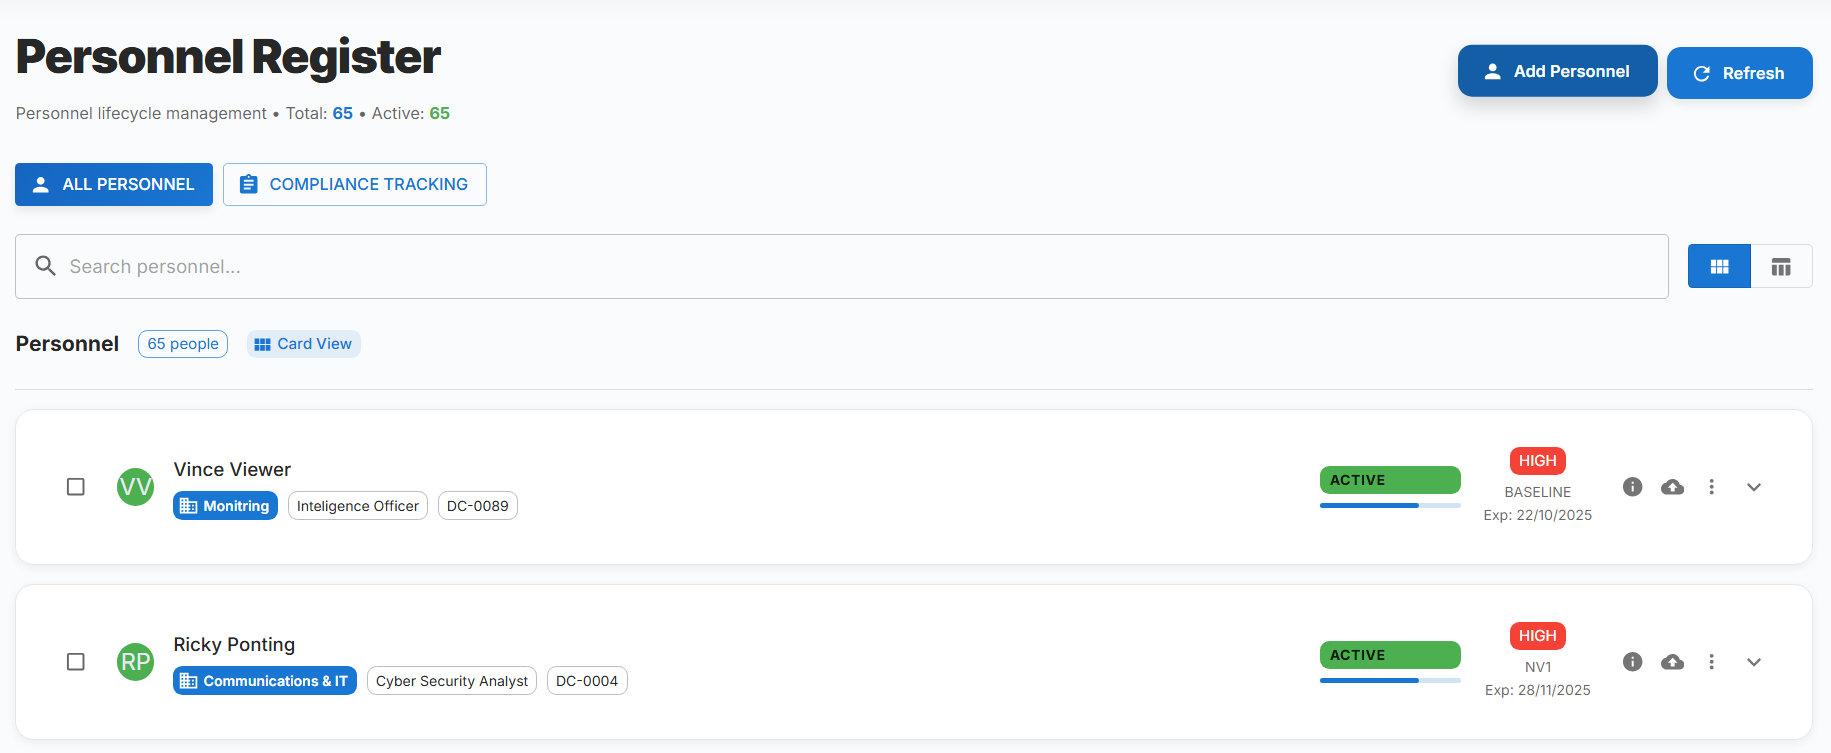
To add a personnel record in DISPulse, click the Add Personnel Button to open the add personnel form.
In the personnel form, you'll need to enter the employee's personal and contact information, employment details (including a unique employee ID), and emergency contact.
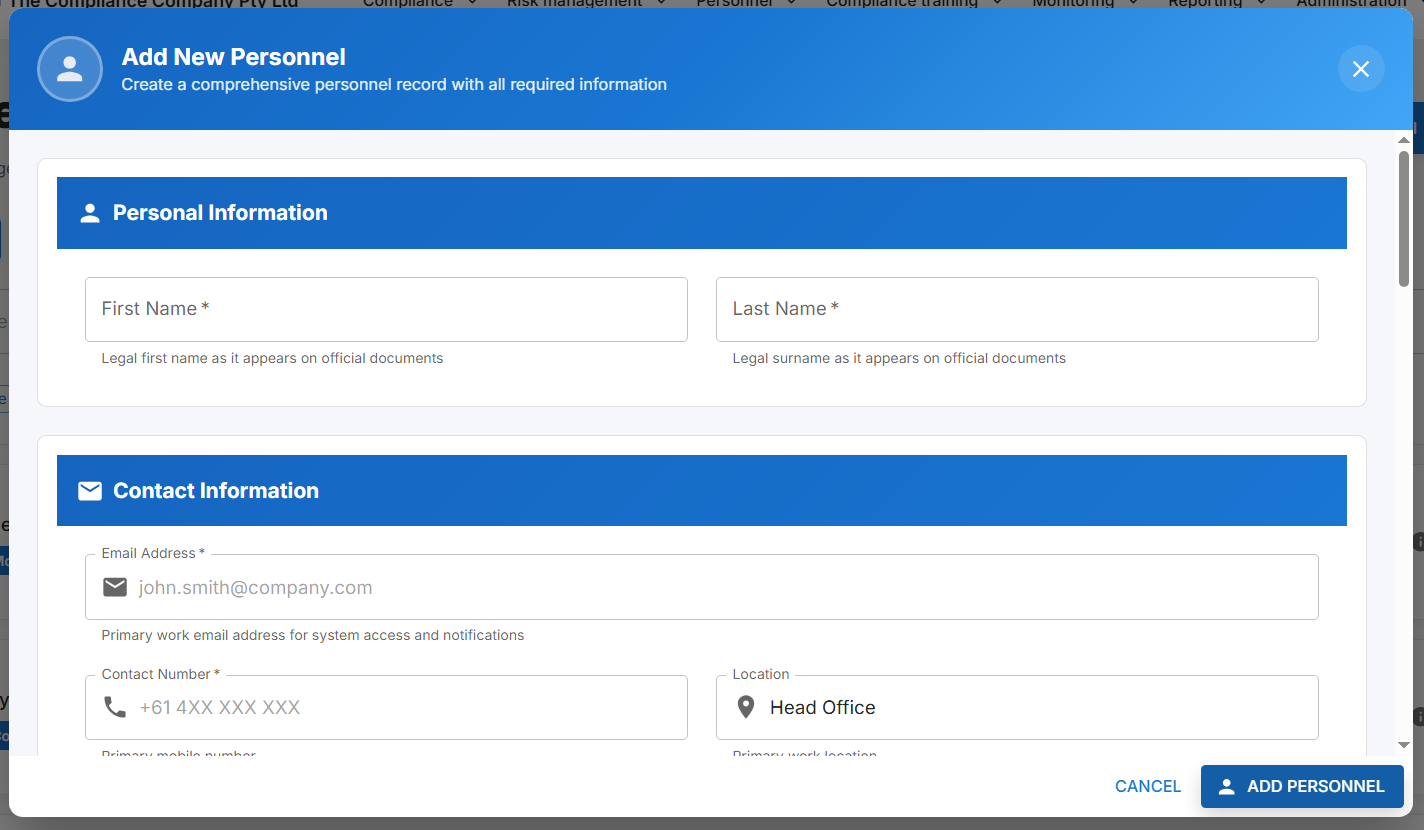
Once you've filled out all the relevant fields, click Add Personnel at the bottom right of the form to submit the personnel record to the personnel register.
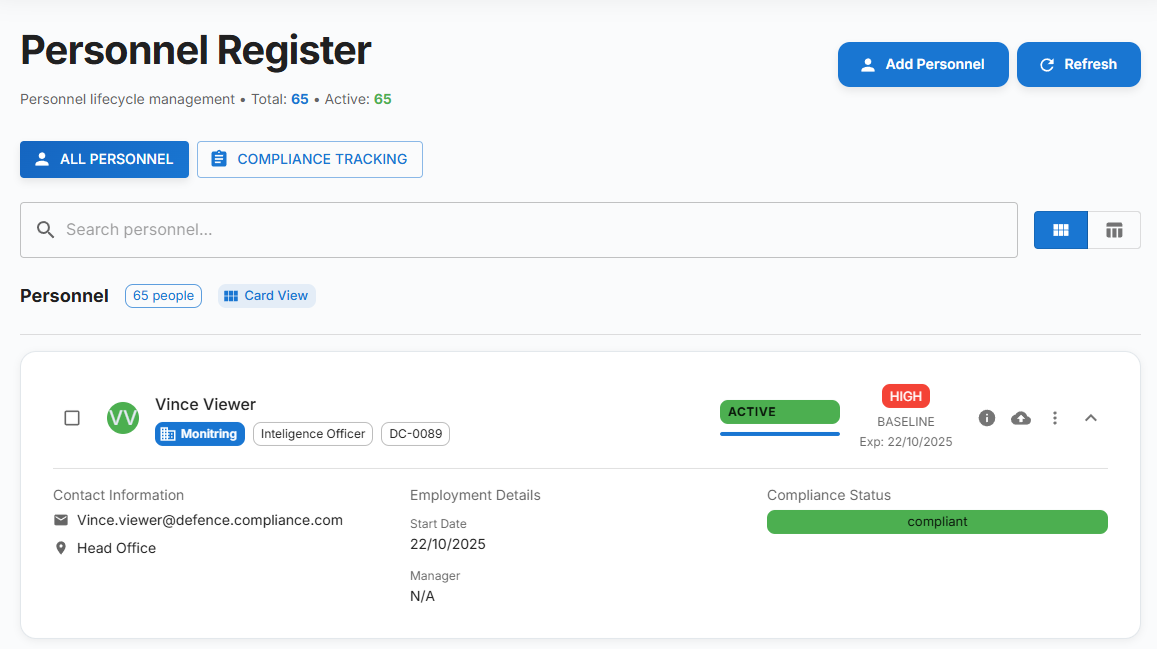
To review the details or attach documents to the personnel entry, find the entry in the personnel record by scrolling through the entries or using the search bar.
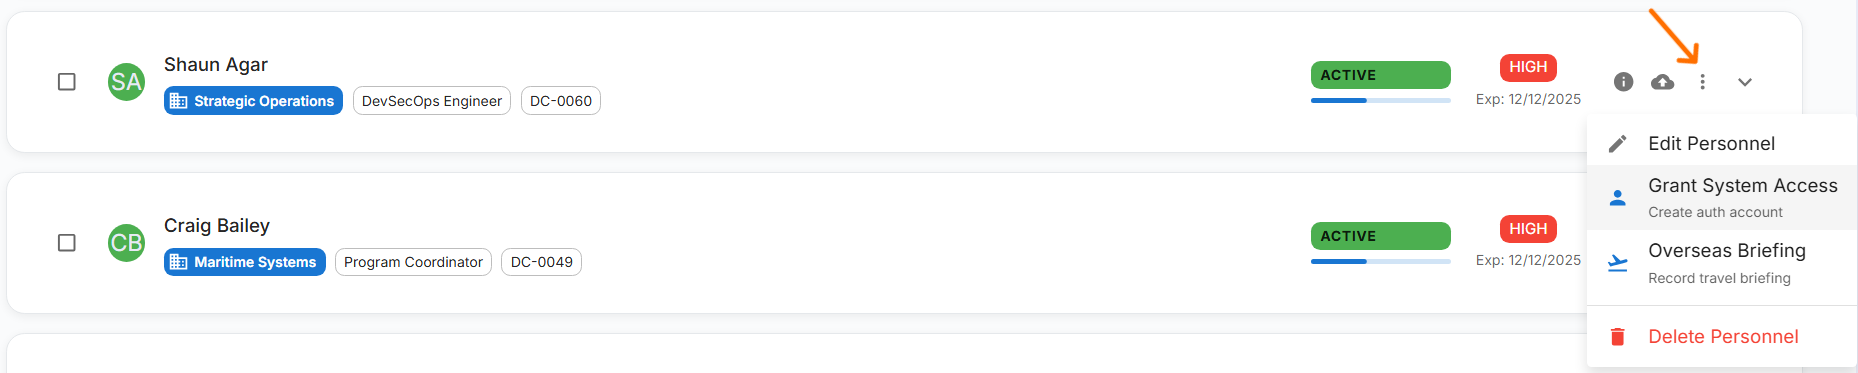
Once you've found the entry, you can view more details by clicking the i icon on the right-hand side of the personnel card. This opens up a personnel card with all the details you've entered when adding the personnel record.
Users can take two actions in the personnel card:
Edit clearance levels and the clearance expiration date at the bottom of the details tab by clicking Edit Clearance.
Attach documents to personnel by navigating to the Documents tab, located just below the header.

In the Documents tab, users can review documents attached to the personnel and upload new documents. To upload a new document, click the Upload Document button at the top of the tab.
This will open the upload form where users can choose the document type, title and optionally a description of the document and then either drag and drop a file into the attachment field or click the field to open your machine's file explorer.