User Management
Create and manage user accounts, roles, and system access.
Creating Your First User Account
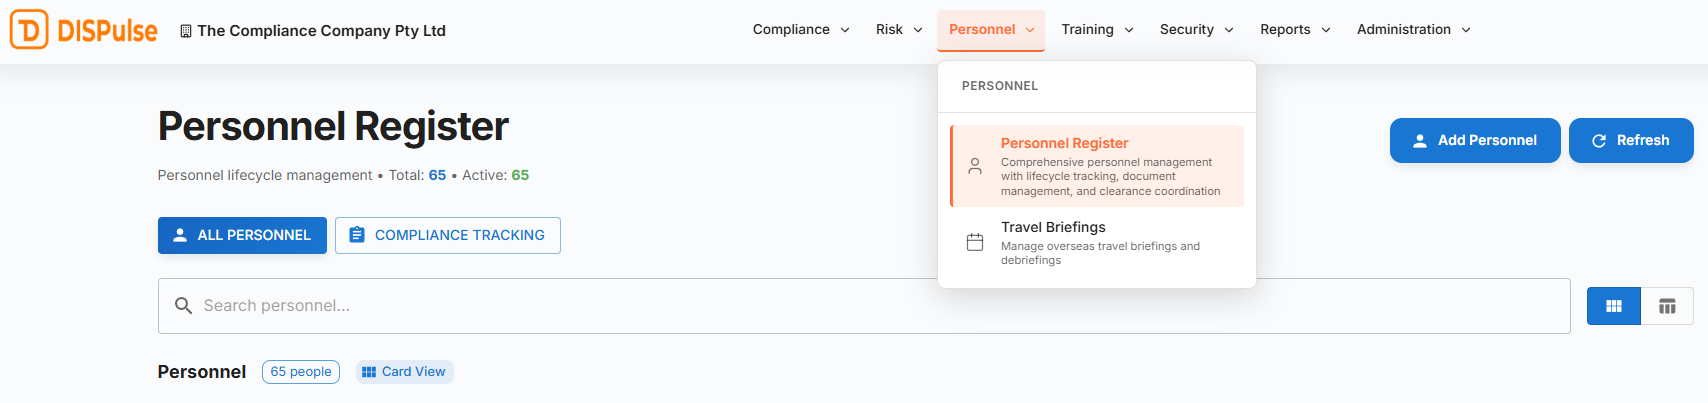
Step 1. The first thing you’ll need to do upon logging into your Pulse environment is to create an account for your CSO and SO. To do this, navigate to the Personnel Register under the Personnel tab.
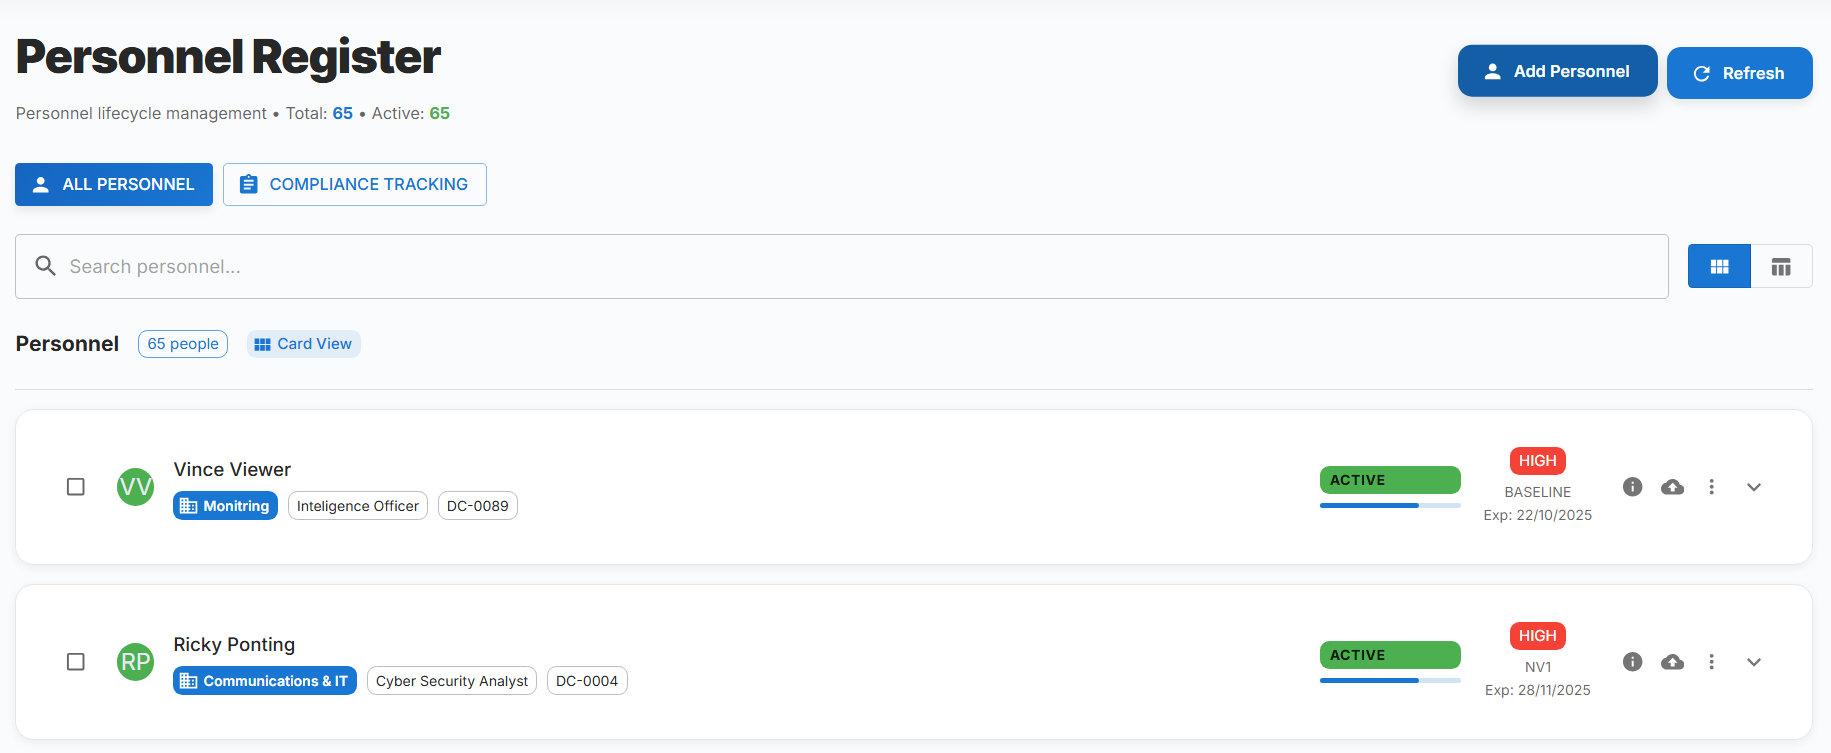
Step 2. Then click ADD PERSONNEL to create a personnel record for your CSO/SO
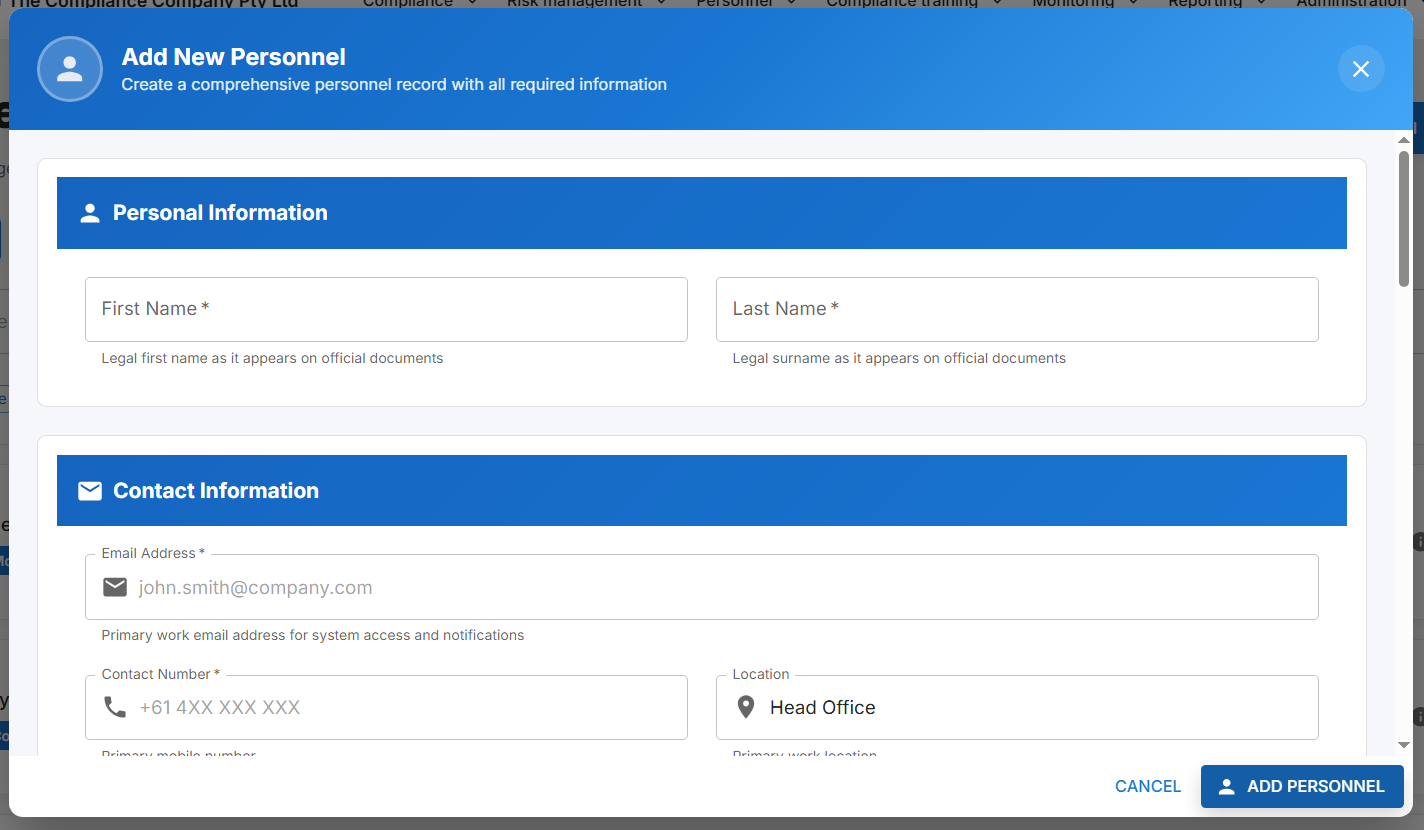
Step 3. Enter the CSO/SO details.
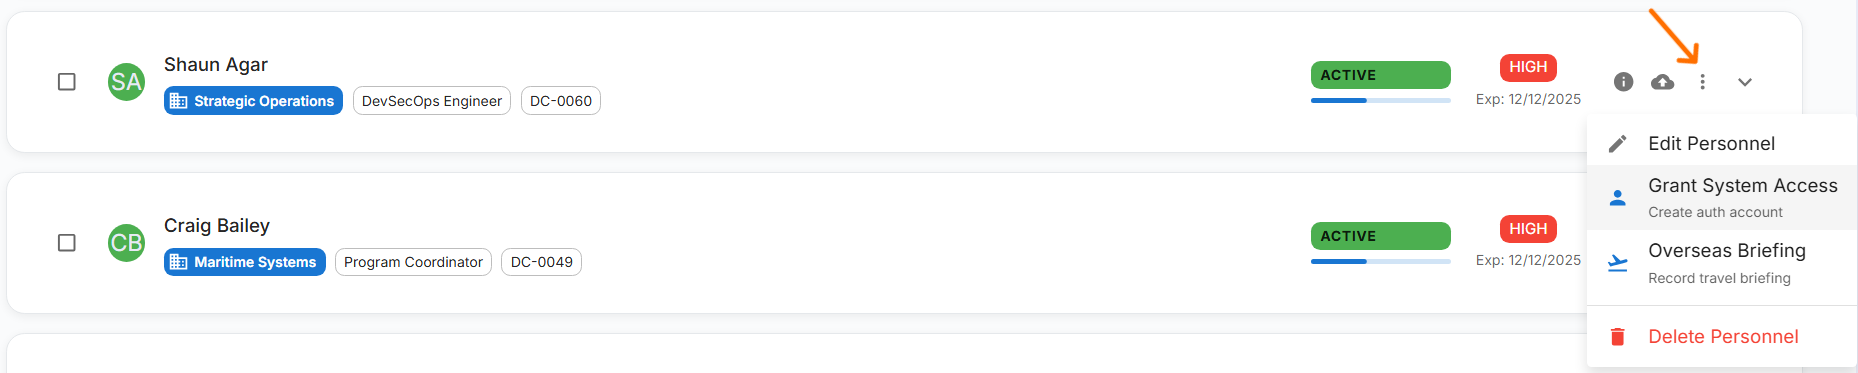
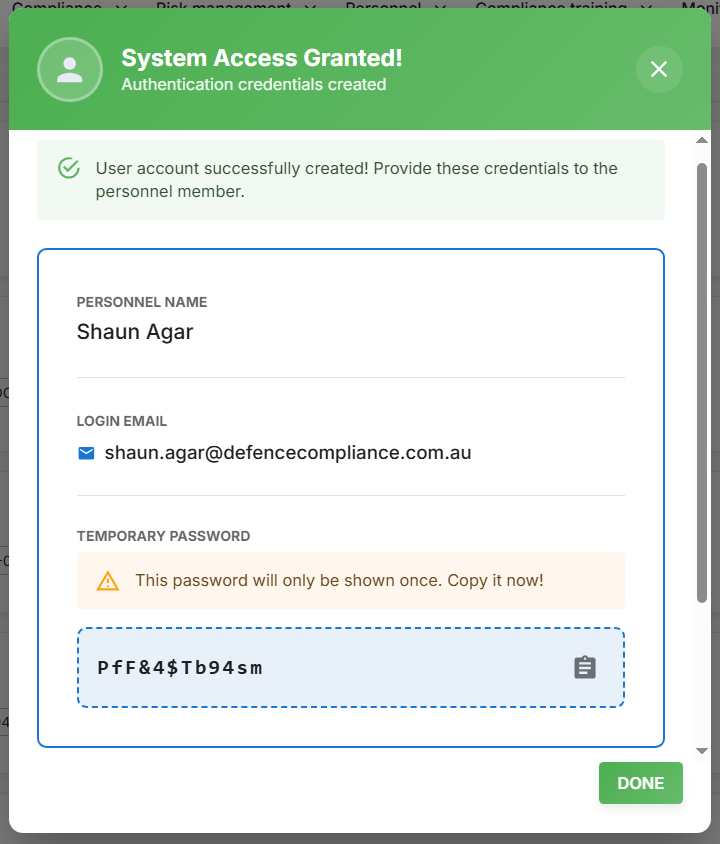
Step 4. Once you’ve created the personnel entry, click the three dots next to the personnel entry you wish to make a user and click Grant System Access. Once done, wait for the temporary details form and provide those details to the users.
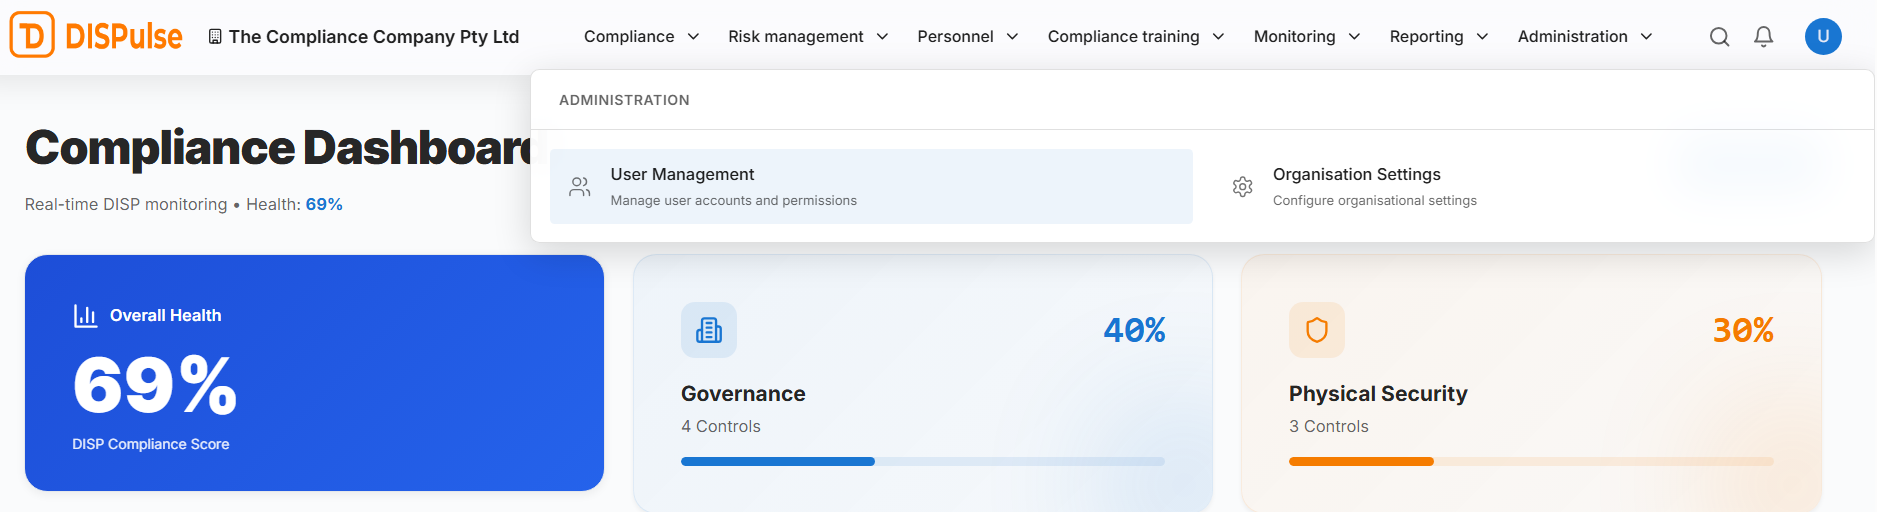
Step 5. To change the permissions for the account you just created head to User Management under Administration.
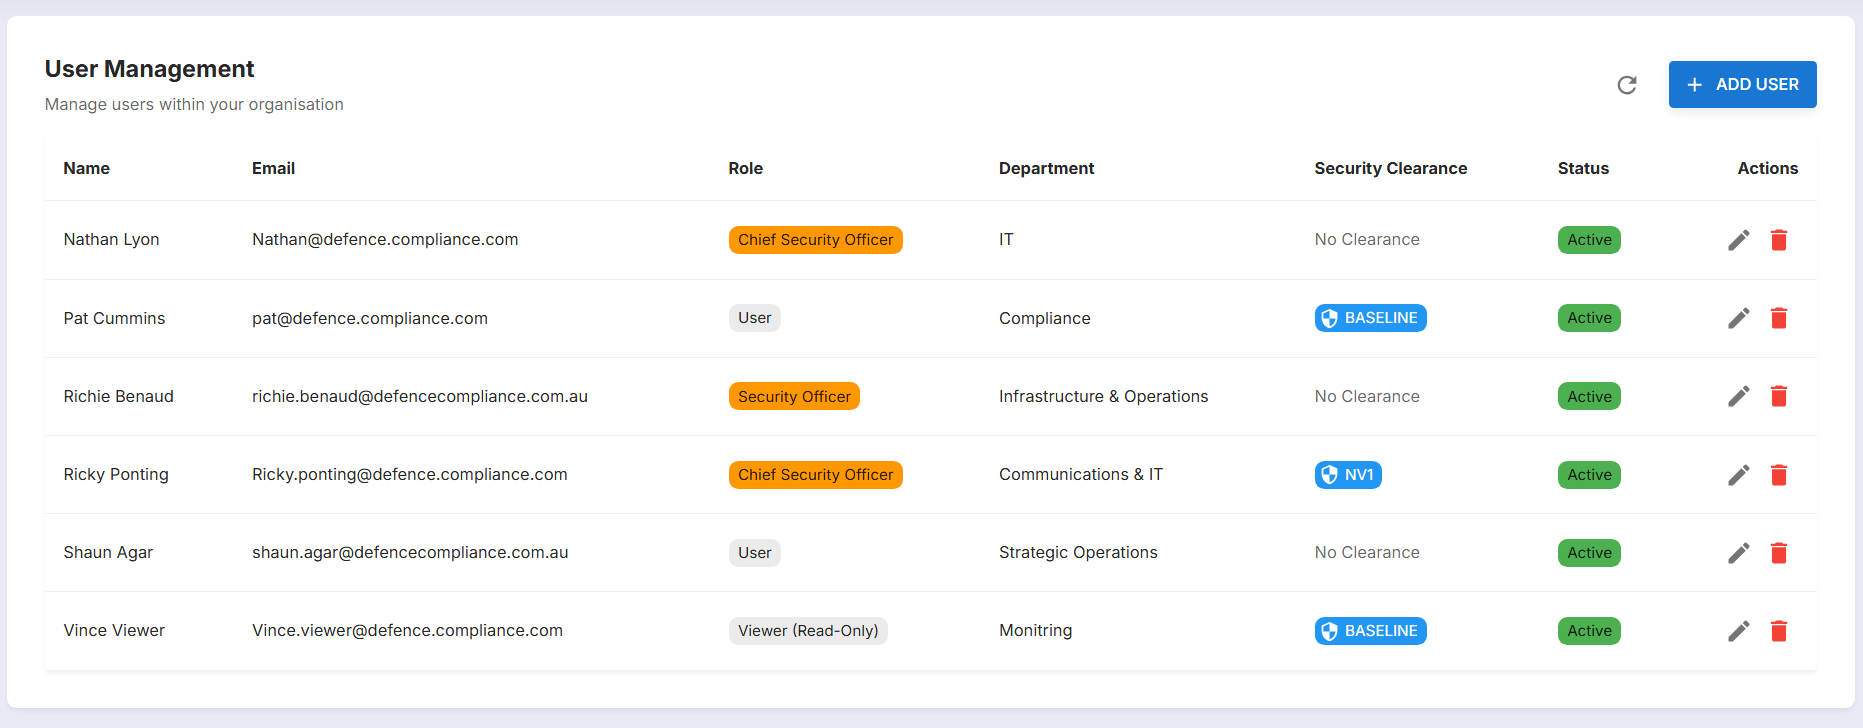
Step 6. On the User Management page, you can view the personnel you’ve granted system access to and their corresponding roles within the application. All new user accounts are created as users and can only be changed by the admin account.
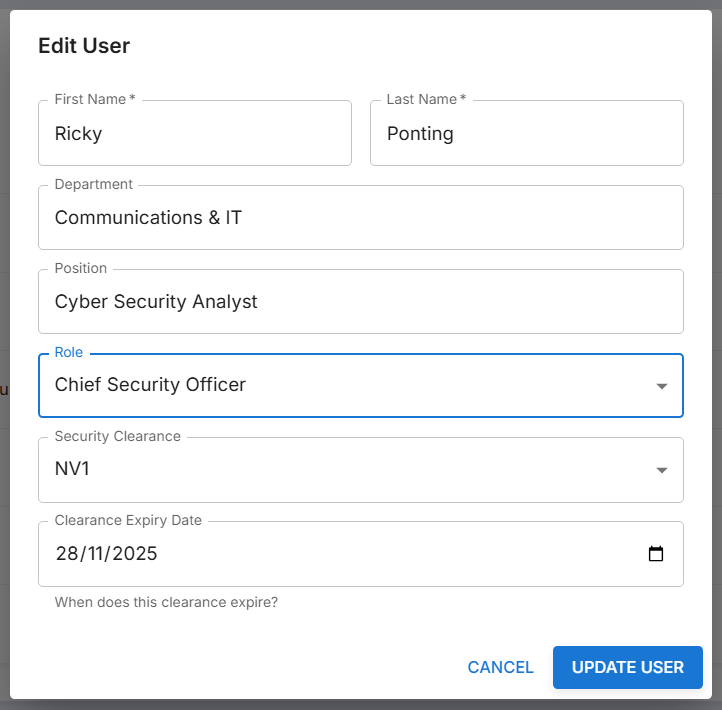
Step 7. To change a user's role, click the Edit button next to the user you wish to edit. In the edit form, select the role drop-down that best suits the user. Click 'Update User' to assign the new permissions to that account.
With these steps completed, your security team are all set to use and manage your compliance with DISPulse. To create additional user accounts, follow the same steps, but provide only high-level system access to personnel who genuinely need it._